This past summer, Ian Milligan, Mary Beth Start and I worked on customizing a Debian Linux virtual machine for doing historical research using digital primary and secondary sources. The machine is called HistoryCrawler, and runs on both Macs and PCs. You can build one of your own by following the steps below.
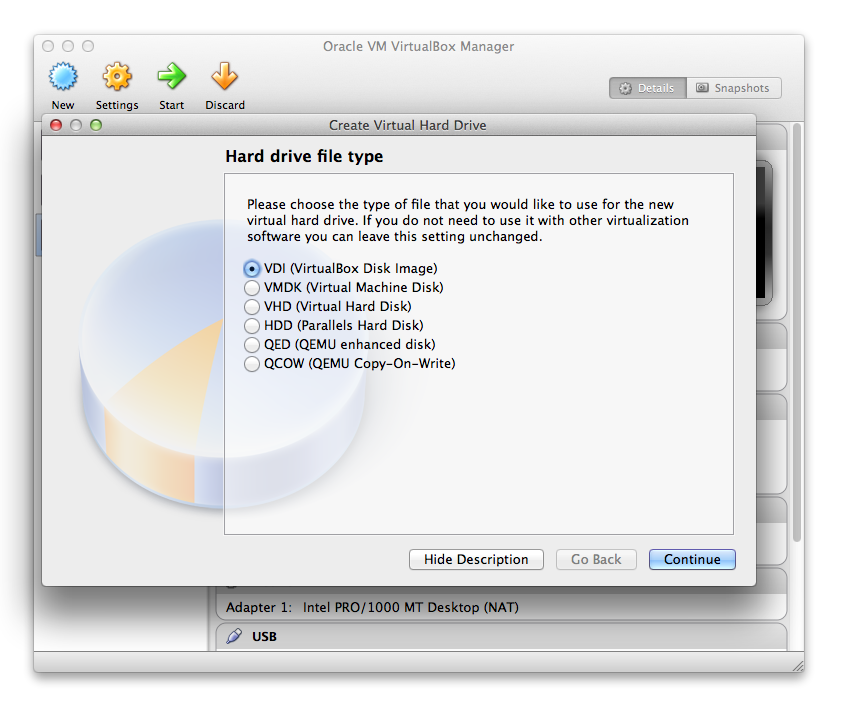
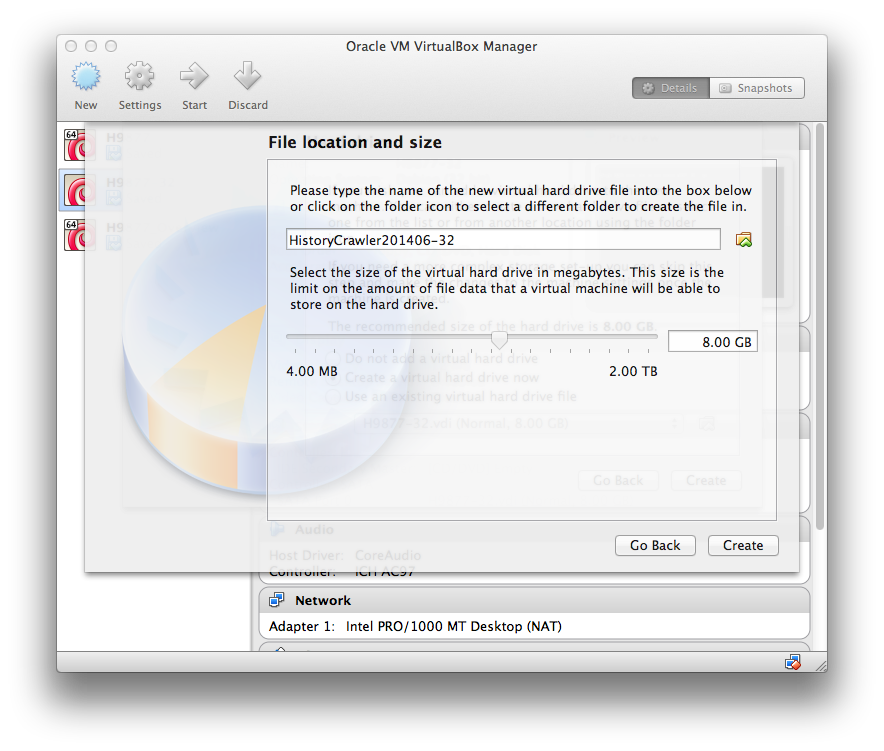
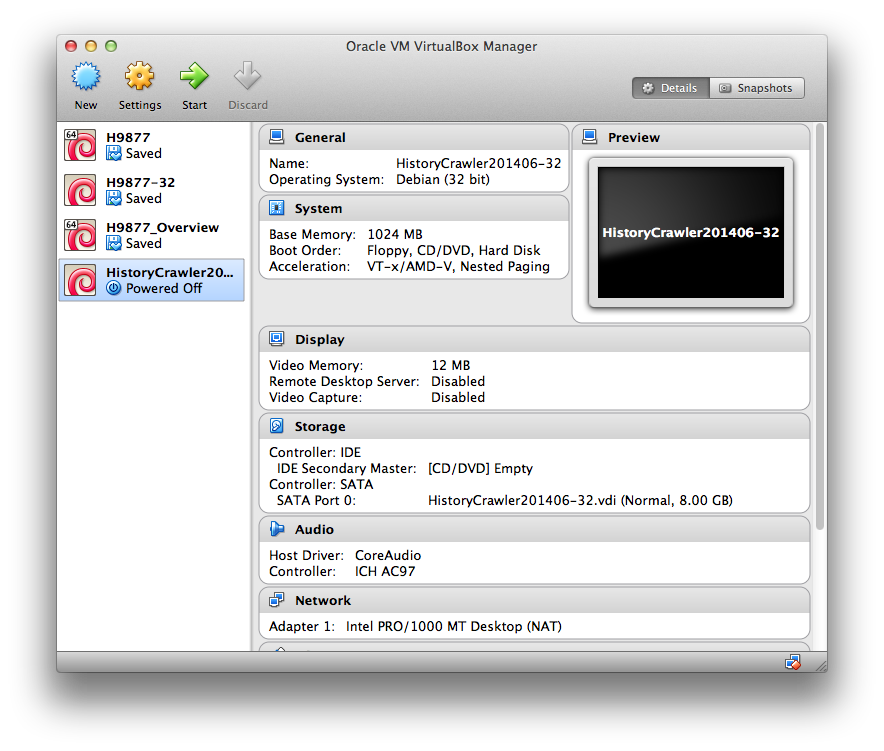
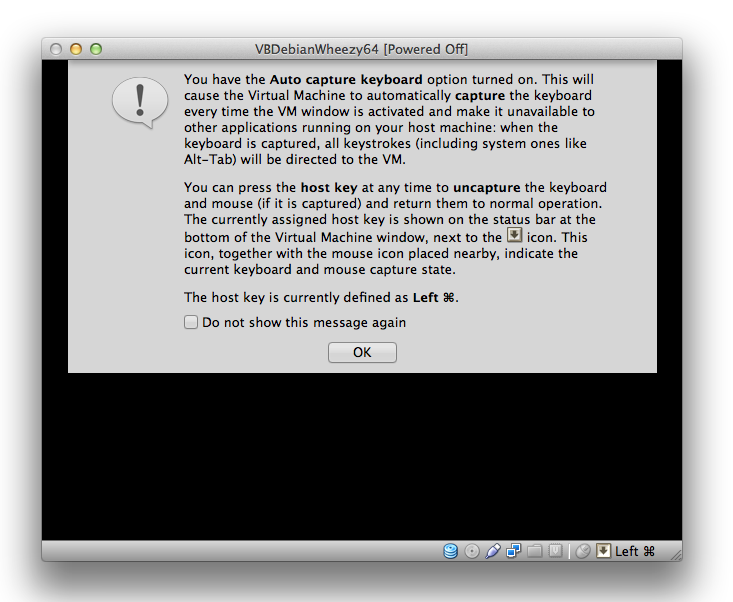
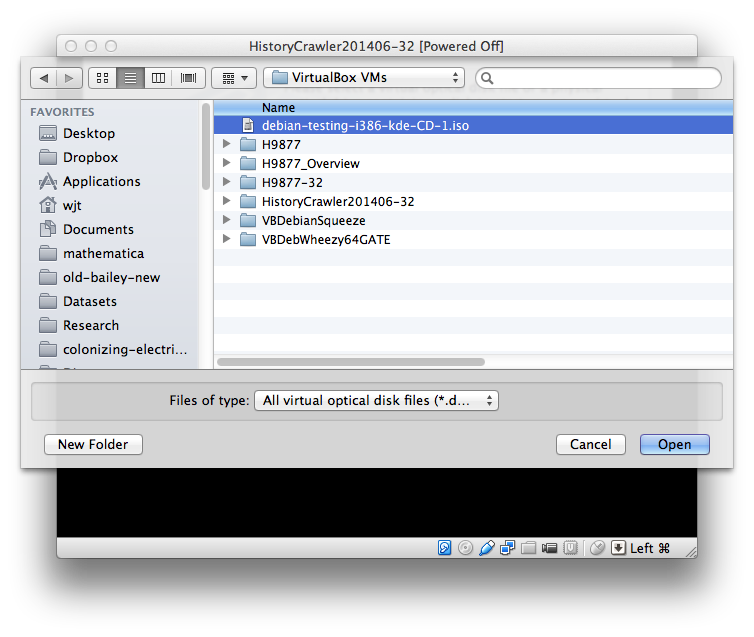
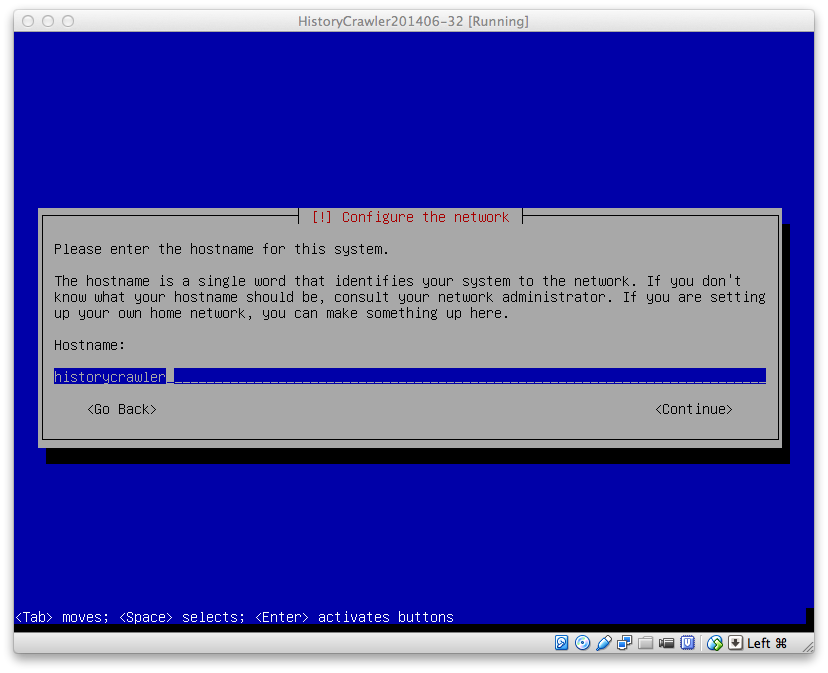
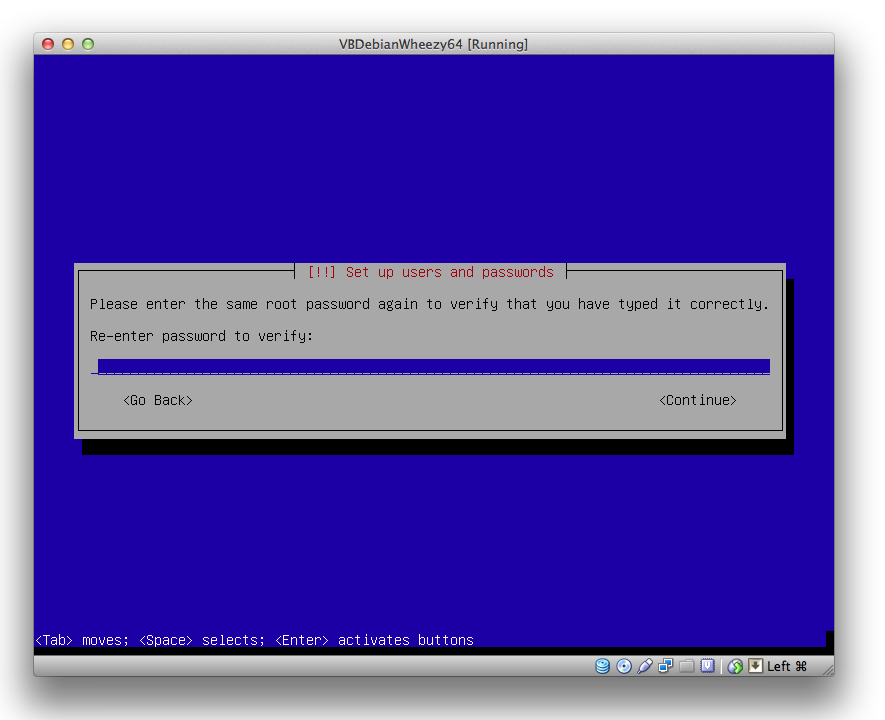
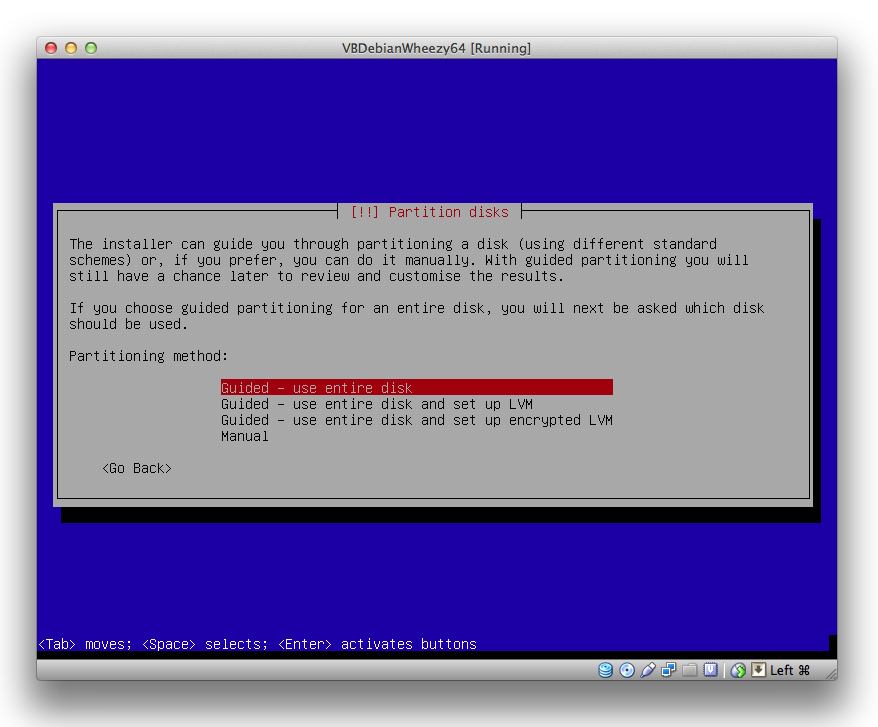
1. Install VirtualBox and create a Debian Linux VM using the instructions here.
2. Disable attempts to load software from CDROM. Log into the VM, open a terminal (e.g., Konsole, UXterm) and using the following command, comment out the cdrom line of sources.list
sudo vi /etc/apt/sources.list
3. Update and upgrade.
sudo apt-get update
sudo apt-get upgrade
4. Install Guest Additions for VirtualBox VM using the reference here.
4a. Install DKMS.
sudo apt-get install dkms
sudo apt-get install linux-headers-3.14-1-486
4b. Reboot the guest system with Leave->Restart in KDE.
4c. Insert CD image. In VirtualBox menubar of guest machine (i.e., the Debian virtual machine) choose Devices->Insert Guest Additions CD Image.
4d. (Optional) Check drive has been mounted. Open up Dolphin File Manager. On the left hand side you should see the VBOXADDITIONS drive has been mounted.
4e. Open a terminal and enter the following commands.
cd /media/cdrom
sudo sh ./VBoxLinuxAdditions.run
4f. Reboot the guest system with Leave->Restart in KDE.
5. Drag and Drop. Set up bidirectional drag and drop (Devices->Drag’n’Drop) and shared clipboard. Try copying a URL from the host operating system and pasting it into Konqueror web browser with Ctrl-V. Then copy something from guest system with Ctrl-C and try pasting it in host OS.
6. Shared Folder. Shut the VM down completely, then follow these instructions to set up a shared folder. The instructions are actually older than the newest version of VirtualBox; you want to make your shared folder permanent and automount it. The shared folder is
/media/sf_shared-folder
6b. Permissions. Give the hcu user permissions to interact with shared folder by adding him/her to vboxsf group.
sudo usermod -a -G vboxsf hcu
6c. Reboot the guest system with Leave->Restart in KDE and then confirm that the hcu user can now access /media/sf_shared-folder at the terminal or with Dolphin.
6d. (Optional) Set up Kuser tool to manage users and groups. Access this tool with Applications->System->User Manager.
sudo apt-get install kuser
7. Install Zotero. Start Applications->Internet->Iceweasel and go to http://zotero.org/download. Install Zotero for Firefox then restart Iceweasel.
8. (Optional) Outwit Docs and Images. Start Applications->Internet->Iceweasel and go to http://www.outwit.com/products/images/. Install for Firefox then restart Iceweasel. Then go to http://www.outwit.com/products/docs/. Install for Firefox then restart Iceweasel. (N.B. not sure if these are working properly).
9. Java JDK.
sudo apt-get install default-jdk
10. Image, text and document processing tools and OCR.
sudo apt-get imagej
sudo apt-get install pandoc
sudo apt-get install tre-agrep
sudo apt-get install pdftk
sudo apt-get install tesseract-ocr tesseract-ocr-eng
11. Stanford Natural Language Processing Tools. Install the CoreNLP package and the Named Entity Recognition (NER) package. The latter is actually included in the former, but we install it separately to maintain backwards compatibility with tutorials I have already written.
wget http://nlp.stanford.edu/software/stanford-corenlp-full-2014-01-04.zip
unzip stanford*.zip
rm stanford*.zip
mv stanford* stanford-corenlp
wget http://nlp.stanford.edu/software/stanford-ner-2014-01-04.zip
unzip stanford-ner*.zip
rm stanford-ner*.zip
mv stanford-ner* stanford-ner
12. Install csvfix. Be careful with the rm command!
wget https://bitbucket.org/neilb/csvfix/get/c21e95d2095e.zip
unzip c21*zip
rm c21*zip
cd neilb*
make lin
sudo cp ./csvfix/bin/csvfix /usr/local/bin
cd ~
rm -r neilb*
13. Install graphviz and swish-e.
sudo apt-get install graphviz
sudo apt-get install swish-e
14. Install Javascript Libraries: D3.
sudo apt-get install libjs-d3
15a. Install Python Libraries: NLTK.
wget https://bootstrap.pypa.io/ez_setup.py -O - | sudo python
sudo easy_install pip
sudo pip install -U numpy
sudo pip install -U pyyaml nltk
15b. Install Python Libraries: SciPy stack.
sudo apt-get install python-numpy python-scipy python-matplotlib ipython ipython-notebook python-pandas python-sympy python-nose
15c. Install Python Libraries: Scikit-learn.
sudo apt-get install python-sklearn
15d. Install Python Libraries: Beautiful Soup.
sudo apt-get install python-beautifulsoup
15e. Install Python Libraries: Internet Archive.
sudo pip install internetarchive
15f. Install Python Libraries: Orange.
sudo easy_install orange
16. Install Open Refine.
wget  https://github.com/OpenRefine/OpenRefine/releases/download/2.5/google-refine-2.5-r2407.tar.gz
tar -xvf goo*gz
rm goo*gz
cd google-refine-2.5
./refine &
17. Install R.
sudo aptitude install r-base-dev
sudo aptitude install r-base-html r-doc-pdf
18. Install Overview Project.
wget https://github.com/overview/overview-server/releases/download/release%2F0.0.2014052801/overview-server-0.0.2014052801.zip
unzip overview*zip
rm overview*zip
cd overview*
./run &
Leave that running, start Iceweasel, browse to http://localhost:9000 and log in as admin@overviewproject.org with password admin@overviewproject.org. To quit, press Ctrl+C in the terminal where run is running. Don’t worry: your data is safe no matter when you quit.
19. Install SOLR. After this step it will be in ~/solr-4.8.1 and the example server can be run.
wget http://apache.mirror.vexxhost.com/lucene/solr/4.8.1/solr-4.8.1.tgz
tar zxvf solr-4.8.1.tgz
rm solr-4.8.1.tgz
20. Install MAHOUT. This requires subversion and maven.
sudo apt-get install subversion
sudo apt-get install maven
svn co http://svn.apache.org/repos/asf/mahout/trunk
cd trunk
mvn install
21. Install MALLET.
wget http://mallet.cs.umass.edu/dist/mallet-2.0.7.tar.gz
tar -zxvf mallet-2.0.7.tar.gz
rm mallet-2.0.7.tar.gz
wget http://topic-modeling-tool.googlecode.com/files/TopicModelingTool.jar
Run the GUI .jar file from the home directory with
java -jar TopicModelingTool.jar
22. Web Archiving Tools. We are using a deprecated copy of WARC tools that is better with full text.
sudo apt-get install git
git clone https://github.com/ianmilligan1/Historian-WARC-1.git
Copy Historian-WARC-1/warc/hanzo-warc directory to home directory and deleted Historian-WARC-1.
23. Install SEASR.
wget http://repository.seasr.org/Meandre/Releases/1.4/1.4.12/Meandre-1.4.12-linux.zip
unzip Meandre-1.4.12-linux.zip
rm Meandre-1.4.12-linux.zip
cd Meandre-1.4.12
sh Start-Infrastructure.sh
sh Start-Workbench.sh
In web browser navigate to http://localhost:1712/ and log in with
username: admin
password: admin
host: localhost
leave port at 1712
In workbench, open up the locations tab and add the following two locations to get default components and flows. Components (the first one) may take a few minutes because it’s downloading a ton of stuff. No worries.
- http://repository.seasr.org/Meandre/Locations/Latest/Flows/demo-all/repository_components.rdf
- http://repository.seasr.org/Meandre/Locations/Latest/Flows/demo-all/repository_flows.rdf
When done, remember to return to the ‘Meandre-1.4.12’ directory and run
sh Stop-Workbench.sh
sh Stop-Infrastructure.sh
24. Install Voyant.
mkdir Voyant-Server
cd Voyant-Server
wget http://dev.voyant-tools.org/downloads/current/VoyantServer.zip
unzipVoyantServer.zip
java -jar VoyantServer.jar
Open web browser and navigate to http://127.0.0.1:8888. To stop the server, click Stop Server in the GUI.
25. Install Git Atom.
sudo apt-get install nodejs
sudo apt-get install libgnome-keyring-dev
wget http://nodejs.org/dist/v0.10.28/node-v0.10.28.tar.gz
tar xzvf node-v0.10.28.tar.gz
cd node-v0.10.28
./configure && make
sudo make install
git clone https://github.com/atom/atom
cd atom
script/build
sudo script/grunt install
sh atom.sh
26. Use the HistoryCrawler VM. Here are some links to help you get started
- Getting Started: VirtualBox and HistoryCrawler by Mary Beth Start
- Linux Command Line Tutorials


You must be logged in to post a comment.