Many digital humanists are probably aware that they could make their research activities faster and more efficient by working at the command line. Many are probably also sympathetic to arguments for open source, open content and open access. Nevertheless, switching to Linux full-time is a big commitment. Virtualization software, like Oracle’s free VirtualBox, allows one to create Linux machines that run inside a window on a Mac or PC. Since these virtual machines can be created from scratch whenever you need one, they make an ideal platform for learning command line techniques. They can also be customized for particular research tasks, as I will show in later posts.
In this post I show how to create a Debian Linux virtual machine inside VirtualBox. It has a GUI desktop installed (KDE), so you can interact with it both by using commands entered in a shell and by clicking with a mouse. The screenshots come from a Mac, but the install process should be basically the same for a Windows PC.
To get started, you need to download two things. The first of these is a disk image file (ISO) for the version of Linux you want to install. These files are different depending on the processor in your computer. Here the disk image that I will use is a 32-bit testing installation with KDE, for maximum compatibility with both Macs and PCs. Check the Debian distribution page for more details. The other thing that you need to download is the Oracle VirtualBox software for your operating system. Once you have downloaded VirtualBox, install it and then start it.
The image below shows the VirtualBox Manager running on my Mac. I have already created three other Linux virtual machines, but we can ignore these.
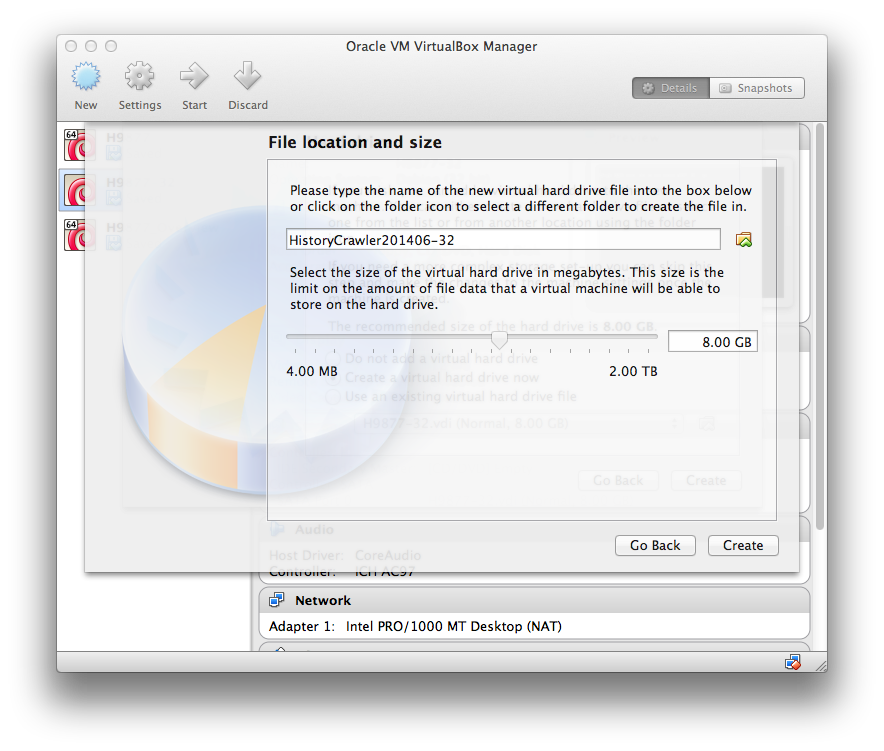
 To create a new virtual machine, click the “New” button in the upper left hand corner of the Manager. Debian Linux comes in three standard flavours, known as “stable,” which is very solid but not very up-to-date, “testing,” which is pretty solid and reasonably up-to-date, and “unstable,” which is just that. I am going to name my machine ‘HistoryCrawler’ along with some information about the date and processor. You can call yours whatever you’d like.
 Once you click “Continue,” the VirtualBox software will ask you a number of questions. For this installation we are going to use a memory size of 1024 megabytes of RAM (this can be increased later), a virtual hard drive formatted as a VDI (VirtualBox Disk Image), dynamically allocated disk storage, and 16 gigabytes for the virtual machine.


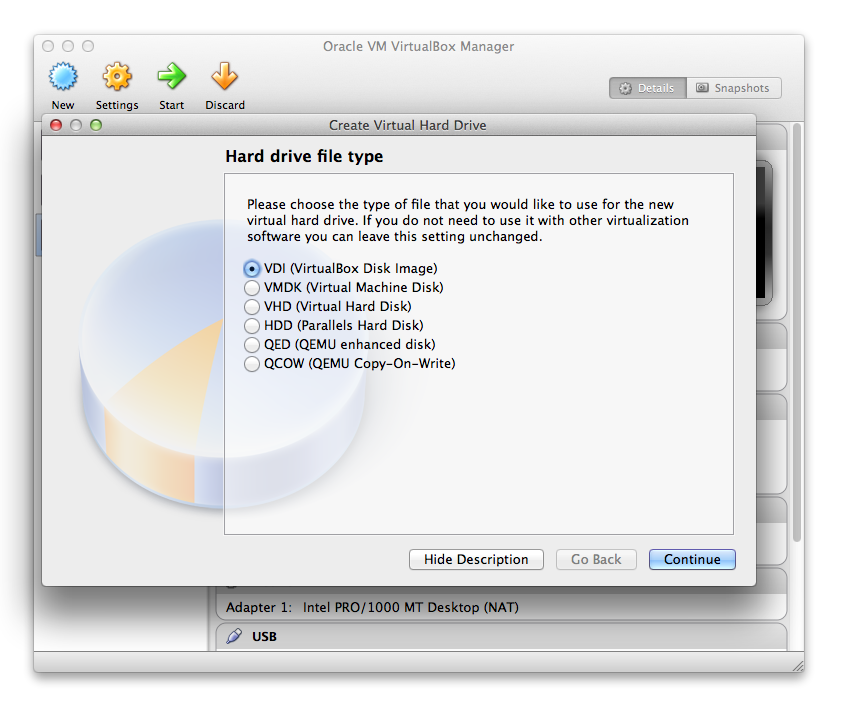

(I originally set the virtual hard drive size to 8 GB but we later had to increase it to 16 GB. So choose 16 GB here, despite the pictures below.)
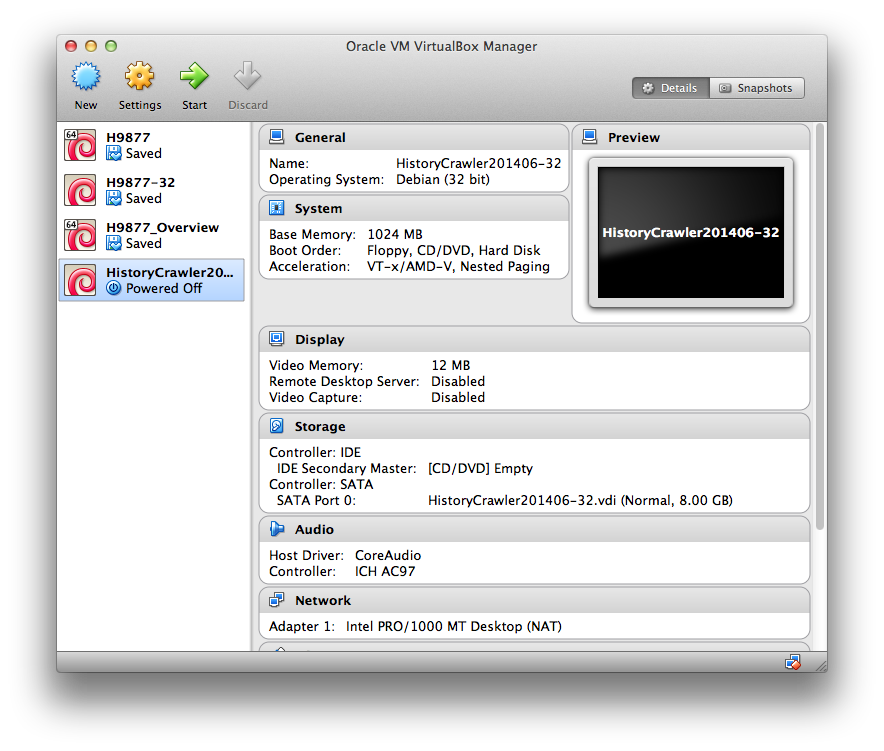
Once we have set all of the options for the virtual machine, we are returned to the VirtualBox Manager.
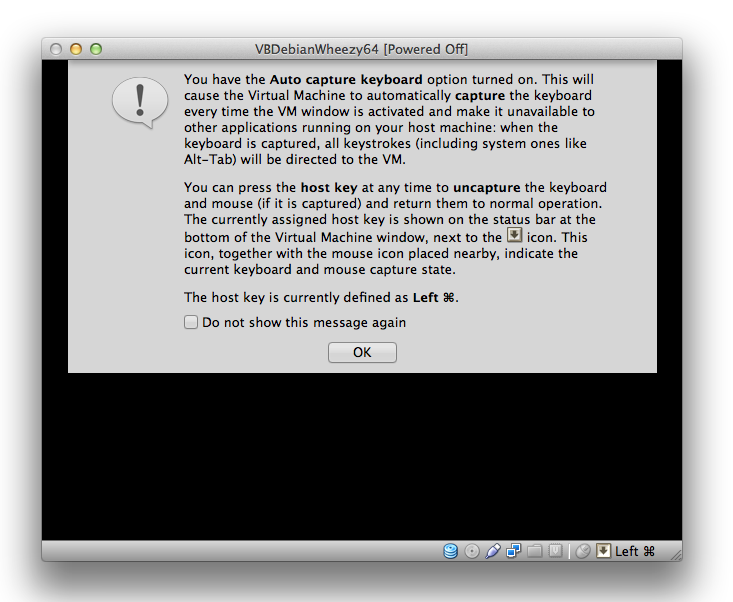
Now we choose the virtual machine we just created and click the “Start” button in the Manager. The new machine starts with a message about how the mouse is handled when the cursor is over the virtual machine window.
Once you’ve read and accepted the message, the virtual machine will ask you for a start-up disk.
 Click the file icon with the green up arrow on it, and you will be given a dialog that lets you choose the Debian ISO file you downloaded earlier.
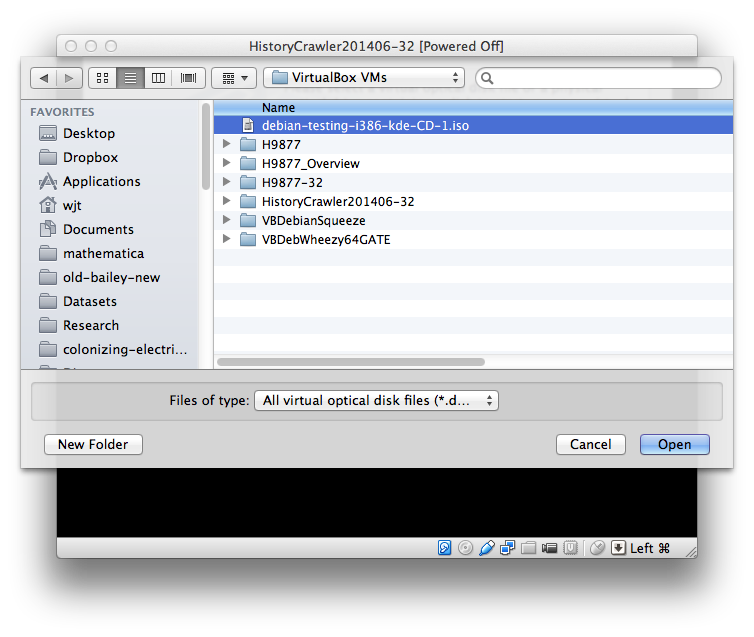
The ISO file is now selected.

When you click “start” the Debian Install process will begin in the virtual machine window.

You can move around the installer options with the Up and Down arrows and Tab key. Use the Enter key to select an item. If there are options, you can usually turn them on or off with the Space bar. Here, press Enter to choose the “Install” option.
Next you want to select your language, location and preferred keyboard layout.


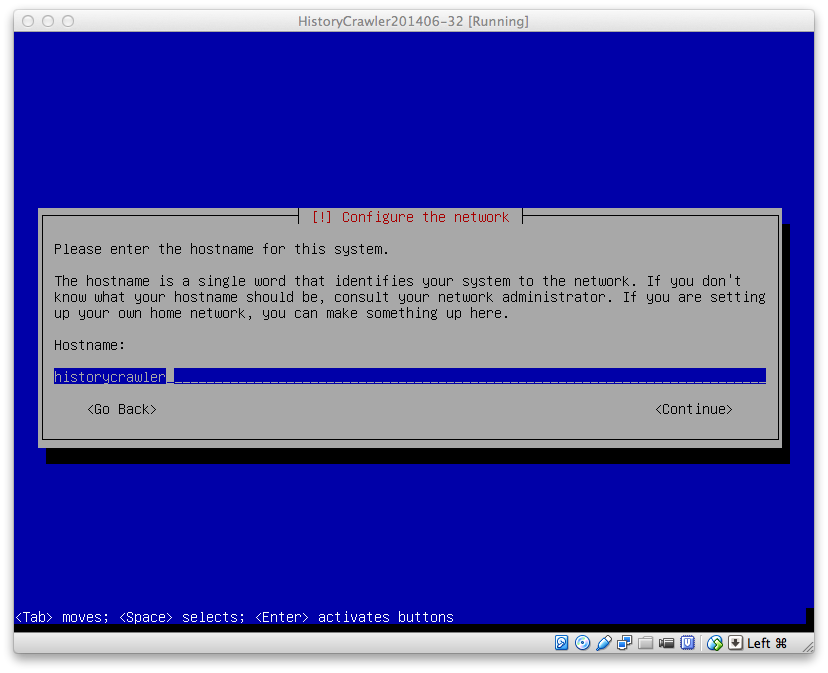
 The installer will ask you for a hostname and a domain name. You can set the former to whatever you’d like; leave the latter blank unless you have a reason to set it.
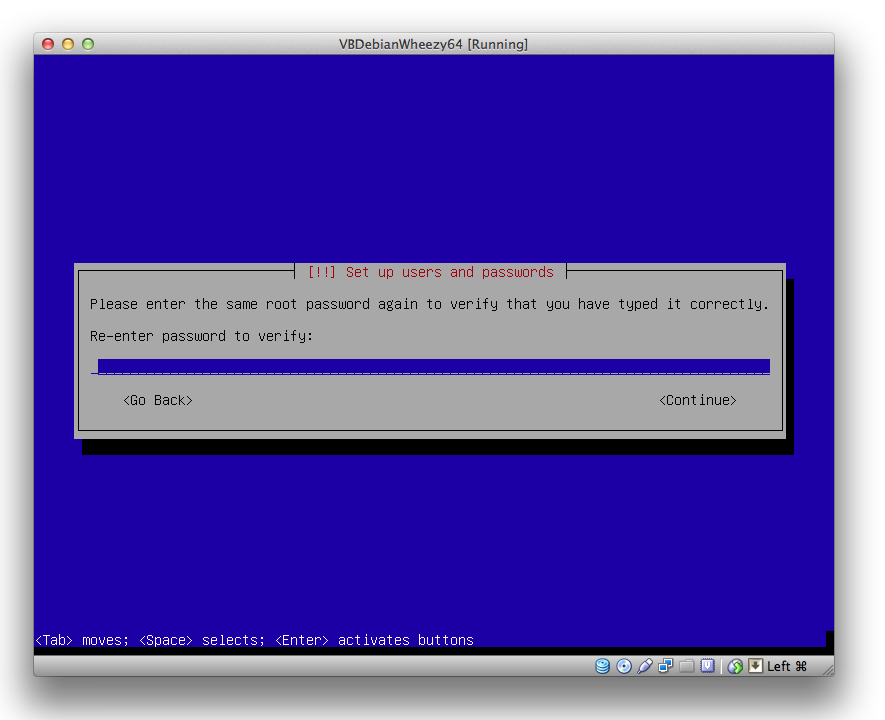
 Next, the installer will ask you for a root password. In Linux and Unix systems, the root account typically has the power to do everything, good and bad. Rather than setting a root password, we are going to leave the root password entry blank. The installer will respond by not creating a root account, but rather by giving the user account (i.e., you) sudo privileges.

 Now that the root account is disabled, you can enter your own name, username and password, and set the time zone.


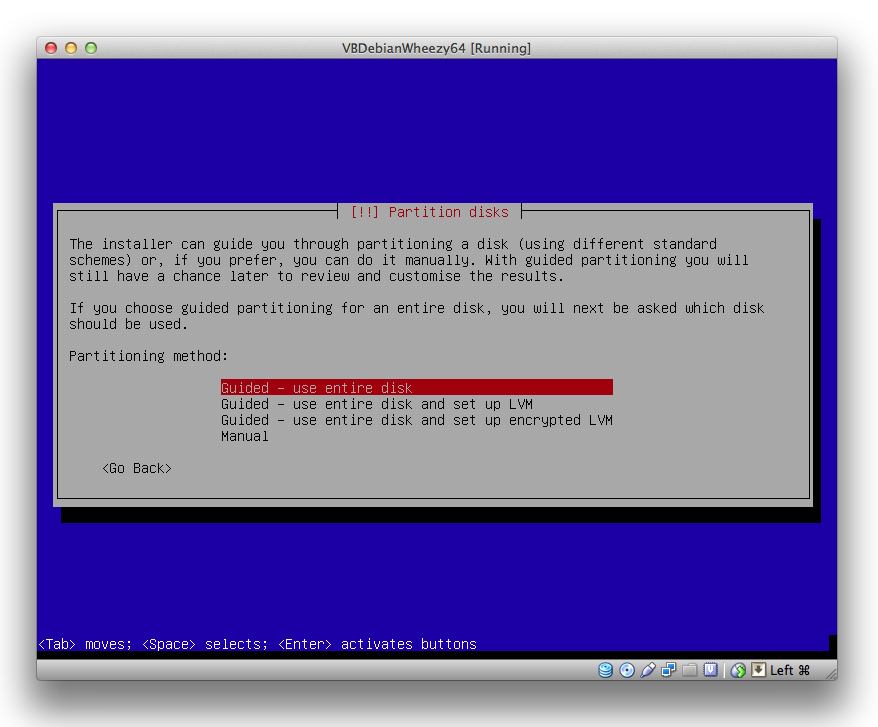
 The next set of screens ask you to specify how you would like the file system to be set up. As before, we will use the defaults. Later, when you are more familiar with creating virtual machines for specific tasks, you can tweak these as desired. We want guided partitioning, and we are going to use the entire virtual disk (this is the 8Gb dedicated to this particular virtual machine)
 We only have one disk to partition, so we choose it.
 We want all of our files in one partition for now. Later, if you decide to do a lot of experimentation with Linux you may prefer to put your stuff in separate partitions when you create new virtual machines.
 We can finish the partitioning…

and write the changes to disk.
 Now the install process will ask us if we want to use other disk image files. We do not.
 We are going to grab install files from the Internet instead of from install disk images. (If you are working in a setting where downloads are expensive, you may not wish to do this.) We set up a network mirror to provide the install files.

Tell the installer what country you are in.
 Then choose a Debian archive mirror. The default mirror is a good choice.
 Now the installer will ask if we want to use a proxy server. Leave this blank unless you have a reason to change it.
 I opt out of the popularity contest.
 Debian gives you a lot of options for pre-installed bundles of software. Here we are going to install the Debian Desktop Environment (the GUI, KDE), the web and print servers, a SQL database, file server, SSH server and standard system utilities. If you are working on a laptop, check the laptop box, too.

The final step is to install the Grub bootloader.

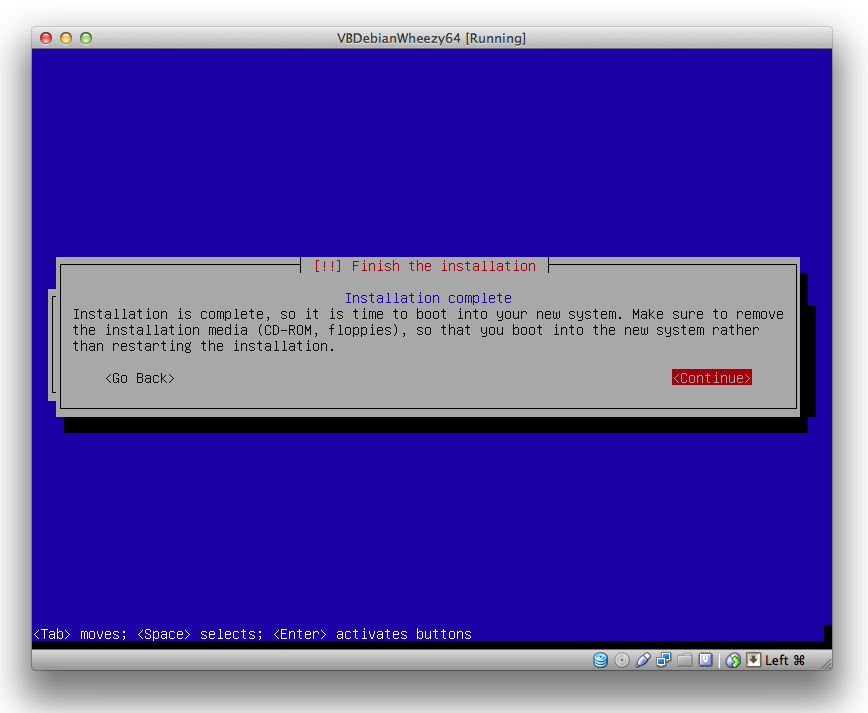
Now the virtual machine will reboot when you click “Continue”.
 This is the login prompt for your new Debian virtual machine.

You can use Linux commands to shutdown the virtual machine if you would like. You can also save it in such a way that it will resume where you left off when you reload it in VirtualBox. In the VirtualBox Manager, right click on the virtual machine and choose “Close”->”Save State”. That is shown in the next screenshot.
 You can save backups of your virtual machine whenever you reach a crucial point in your work, store VMs in the cloud, and share them with colleagues or students. You can also create different virtual machines for different tasks and use them to try out other Linux distributions. On my Macs, I also have Win XP and Win 7 VMs so I can run Windows-only software.


0 Comments